Begin with the story, not the equipment
A historical interview can bring a place, object or event into focus through someone’s lived experience or specialist knowledge. Before arranging the camera, decide what the interview can contribute. A former mill worker may describe a routine that photographs cannot show; a local historian may explain why accounts of a site differ. Those are distinct roles, and the questions should reflect them.
Talk with the participant about the subject, the intended audience and how the recording may be used. Ask whether they are comfortable discussing particular memories, and leave room for them to decline a question or take a break. When recording family or community history, establish what the speaker witnessed directly and what they learned from others. You can follow up gently in the interview without treating a recollection as a test.
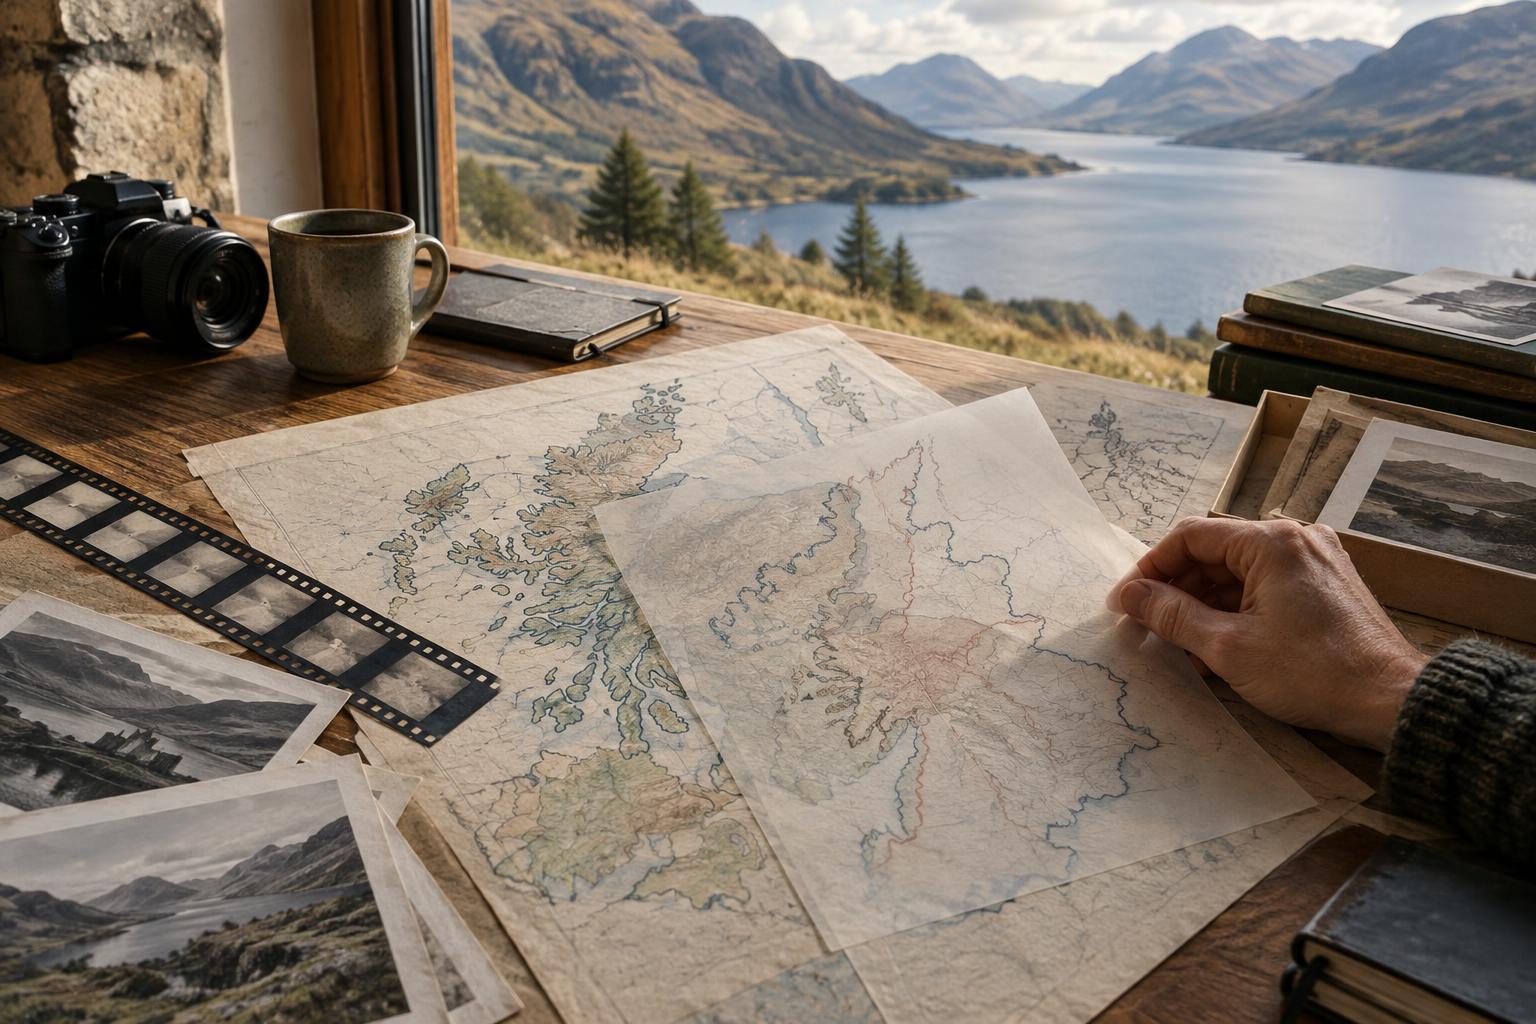
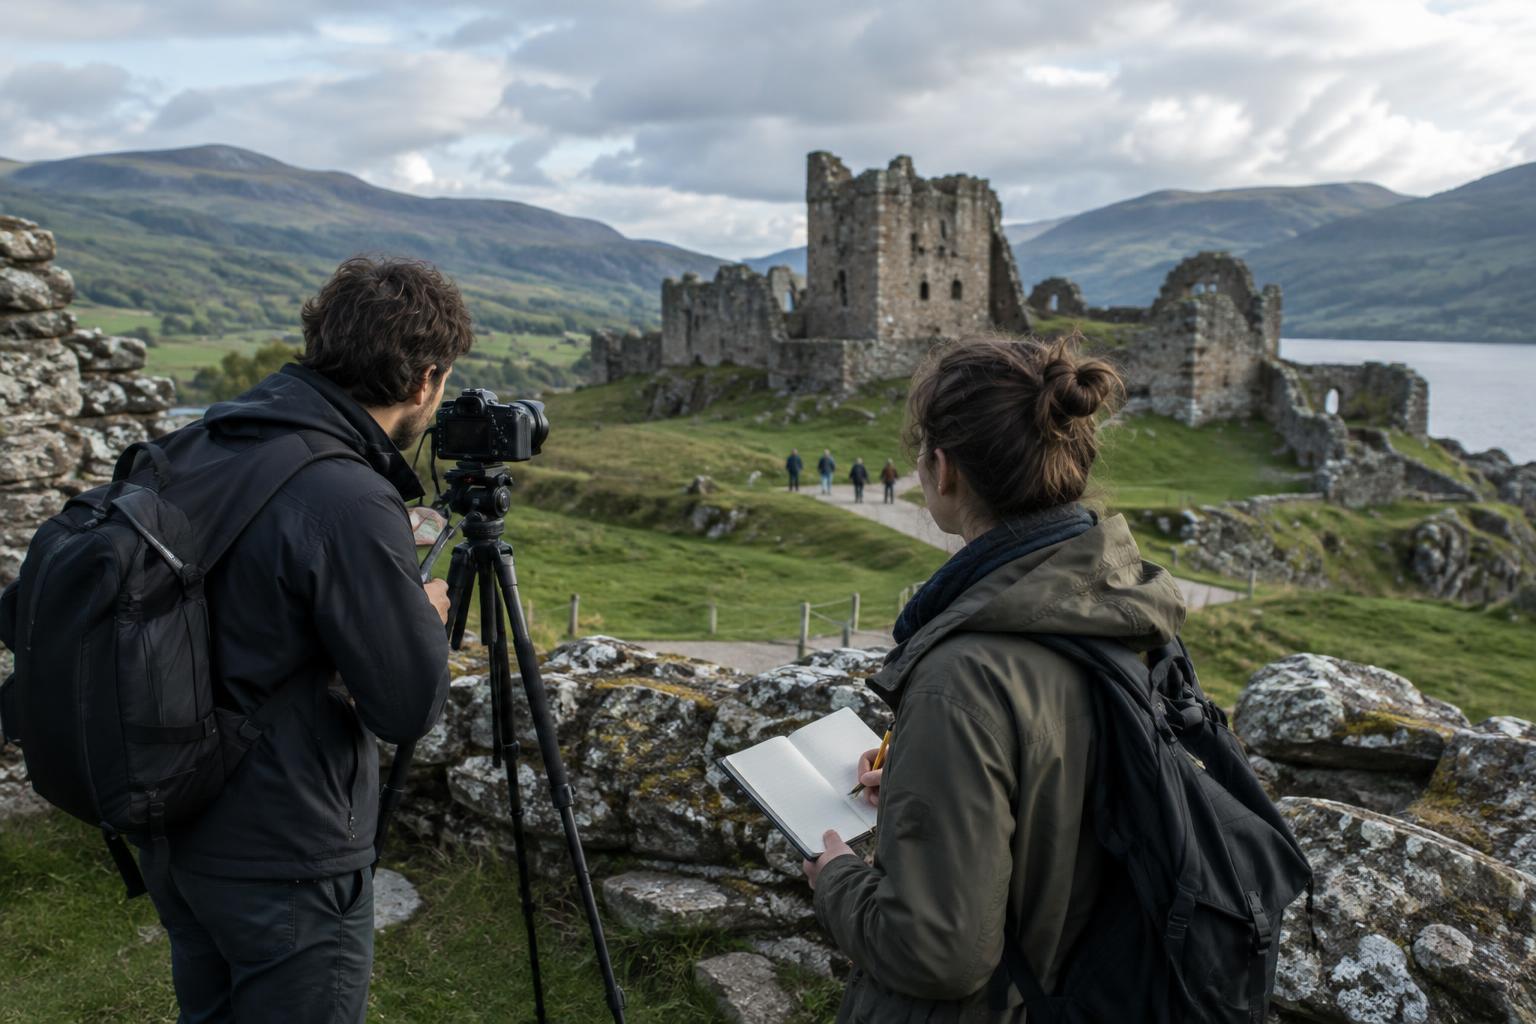
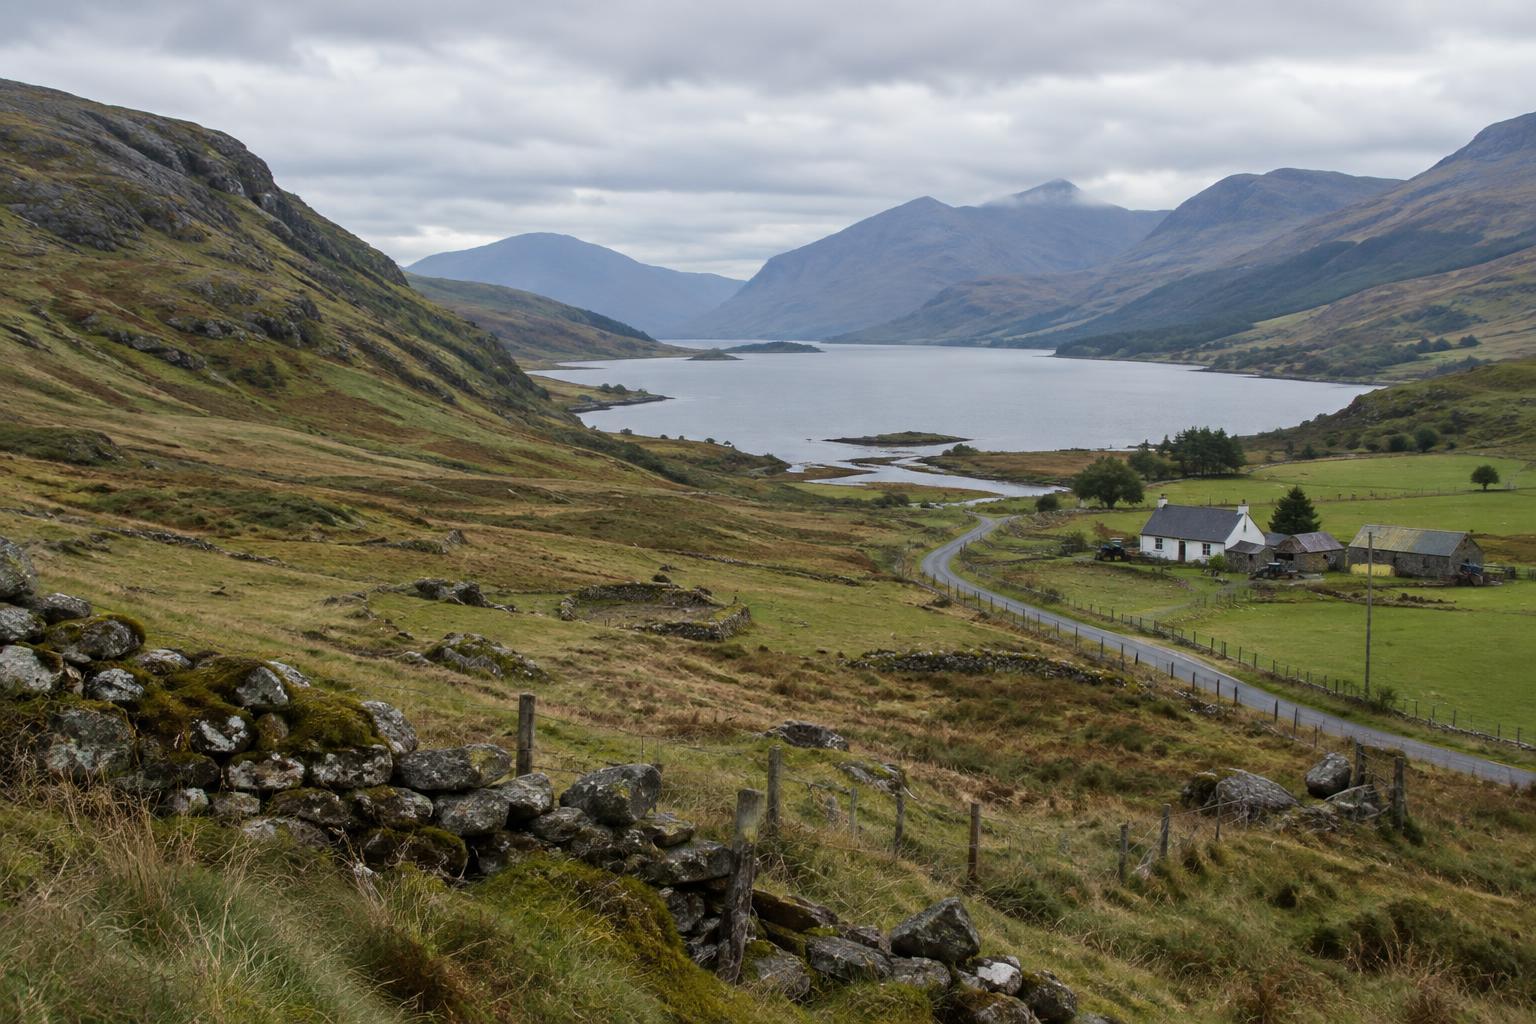
Scout the location with listening as well as looking in mind. A room connected to the story can add meaning, but a quieter room nearby may produce a stronger interview. If a historic interior is important visually yet too noisy to record in, consider filming the conversation elsewhere and making separate, accurately described shots of the site.
Frame the person and the place
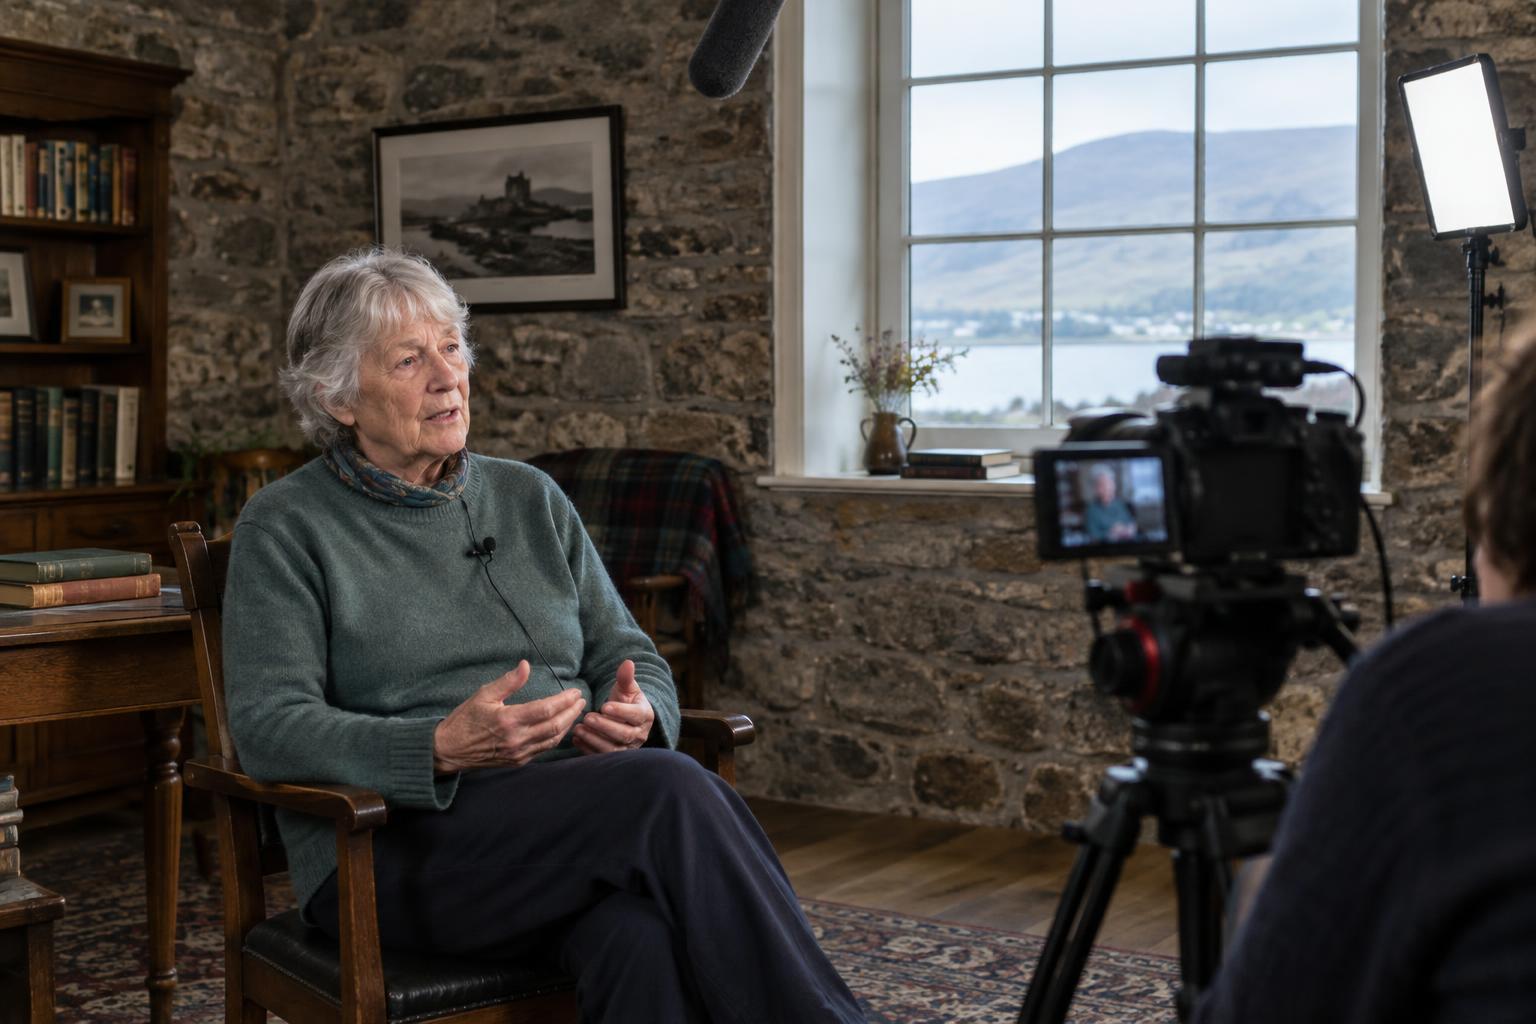
Place the camera roughly at the speaker’s eye level and leave a little space in the direction they are looking. If an interviewer sits beside the camera, the speaker can address a person rather than a lens while still appearing engaged with the viewer. Keep the composition steady and check the edges of the frame for distracting signs, bright windows or objects that seem to emerge from the speaker’s head.
The background should offer context without making unsupported claims. A relevant workshop, reading room or landscape may help situate the conversation; an unrelated collection of old objects may suggest a connection that does not exist. Give the speaker some distance from the background when space allows. This helps separate their face from a busy setting and can make a modest room feel less cramped.
If you plan to cut between a wide and a close view, record both continuously when possible rather than asking the participant to repeat an answer for a new angle. Also capture clearly identified shots of places or objects mentioned in the interview. These images can help an editor show what is being discussed, but they should not be presented as footage of an event they do not depict.
Use gentle, consistent light
Good interview lighting makes facial expressions easy to read without drawing attention to itself. A window to one side of the speaker can provide soft light, especially when direct sun is not striking the face. Turn off overhead lights if they create harsh shadows or an awkward mix of colours, and check that the background is not much brighter than the person.
Window light may change during a long conversation. If you have a controllable lamp or video light, soften it with an appropriate diffuser and place it slightly to one side of the camera. A pale wall or reflector on the opposite side can lift deep shadows. Keep lights and cables secure, and avoid asking a participant to sit under an uncomfortably bright lamp. Comfort matters: an interview rarely improves when the speaker is squinting or distracted.
Treat sound as the main record
Viewers may forgive a simple image, but they cannot follow a story they cannot hear. Choose the quietest practical space and listen for traffic, ventilation, clocks, other conversations and the echo of bare walls. Soft furnishings can help reduce echo. Silence phones and appliances where appropriate, then listen again; familiar background noise is easy to overlook until it appears in a recording.
Put a microphone close enough to capture the voice clearly without obstructing the speaker. A clip-on microphone can work well if clothing does not rub against it; a directional microphone just out of frame is another option. Use headphones to monitor the actual recording, not merely the sound in the room. Ask for a short test answer at normal speaking volume, play it back and check for distortion, rustling and missing words before beginning.
Record a little of the room’s natural sound after the conversation, with everyone quiet. This can help smooth ordinary edits without disguising a change in meaning. If you have a second recorder, use it as a backup and confirm that it is running. At the end, check that files have saved and make a copy before clearing any memory card.
Edit without changing the testimony
Framing and sound shape how an account feels, but editing shapes what it appears to say. Keep enough of each answer for the speaker’s meaning and uncertainty to remain clear. Do not join separate statements in a way that creates an argument they did not make. Where a memory conflicts with another account or a documented detail, the film can acknowledge the difference rather than quietly treating one voice as conclusive.
Captions can identify a speaker and their connection to the subject, while clear labels can distinguish contemporary footage from genuine archival material. Avoid making newly filmed images look like historical evidence without explaining what they are. Keep the original recording, notes on permissions and details of any archival items used. A carefully made interview is not only a scene for today’s film; it may also be a record that others need to understand later.